Before smartphones, selfies, and digital cameras, the very first cameras were simple boxes that used only light and a tiny hole. They were called Camera Obscuras—Latin for “dark room”—and they captured the world upside down on a screen.
These early cameras were so simple, you can make your own version at home today using materials you likely already have. Plus, it’s guaranteed to generate some serious wow moments—while building life-long skills like problem-solving, persistence, and scientific thinking.
And if your child loves experiments like this, be sure to check out the Hey Smart Girl book series—empowering girls through the magic of science and curiosity!
What is a camera obscura?
The Camera Obscura was the very first “camera,” dating back hundreds of years. Light passes through a tiny hole into a dark space and forms a real, upside-down image on the back wall.
Artists even used them to trace incredibly realistic pictures—think of it as an ancient projector!
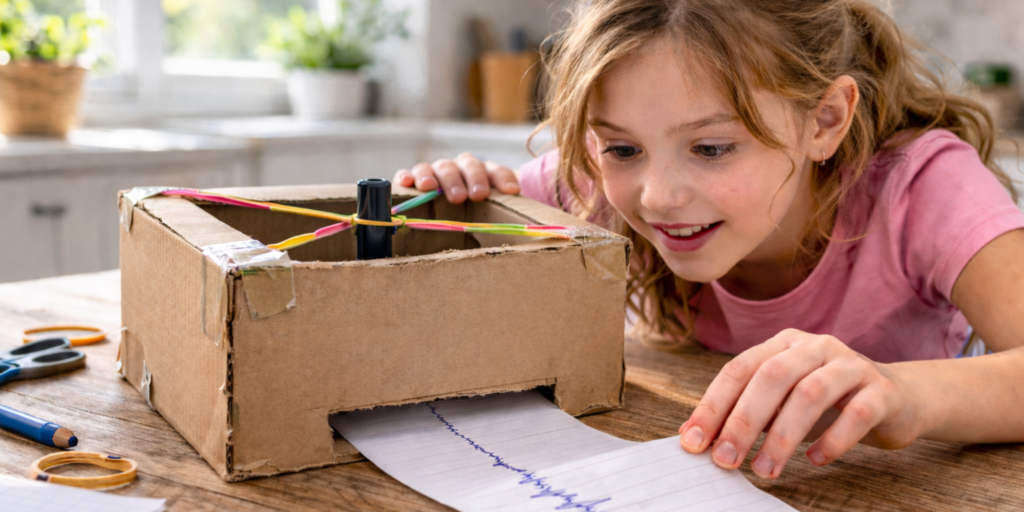
Make your own camera obscura
What You’ll Need:
- A cardboard box with a lid (like a shoebox)
- A pin or sharp pencil
- Wax paper or tracing paper
- Scissors and tape
- A dark room with a single bright light source (like a small gap in a curtain or a desk lamp)
How to build It:
1. Make the pinhole:
On one short side of the box, carefully poke a tiny hole in the center using a pin or sharp pencil.
2. Create the screen:
On the opposite short side, cut out a small square or rectangle. Secure wax paper or tracing paper over this opening—this will be your child’s projection screen!
3. Add a viewing window:
Cut a small hole in the top or side of the box, near the screen, just big enough for your child to peek inside without letting much extra light in.
4. Seal the box:
Close the lid tightly and tape up any extra gaps. The inside needs to be as dark as possible, except for the pinhole and the viewing window.
5. Prepare the room:
Darken the room as much as possible, leaving only a small, bright light source aimed at the pinhole (like sunlight through a tiny gap or a focused desk lamp).
How to use it:
- Point the pinhole side of the box toward the light source.
- Have your child peek through the viewing hole.
- They should see a faint, upside-down image appear on the wax paper screen!
Tip:
If your image looks too faint, try making the room even darker or using a stronger light source.
If you want to take it outside, drape a dark cloth over your child’s head and the camera—just like early photographers!
How the camera obscura works:
When light from an object passes through the tiny pinhole, it travels in straight lines.
- Light from the top of the object travels downward through the pinhole.
- Light from the bottom travels upward.
The rays cross paths at the pinhole, flipping the image upside down!
Your eyes work the same way! Light comes in through your pupil (just like the pinhole) and your brain automatically flips the upside-down image right-side up.
Experiment further: Build critical thinking skills
This experiment is more than just fun—it’s an incredible opportunity to build your child’s cognitive skills like hypothesis-making, analysis, and observation.
Encourage them to ask:
“What happens if we change the size of the pinhole?”
Try experimenting:
- Make a second box with a smaller pinhole.
- Make another with a larger pinhole.
- Observe the differences.
What you’ll notice:
- Smaller hole ➔ Sharper but dimmer image.
- Larger hole ➔ Brighter but blurrier image.
Why?
A smaller opening focuses light better (but allows less light in), while a larger hole lets in more light but blurs the image—this is the same reason why you squint to see better!
Build resilience: Embrace mistakes!
If the first attempt turns out blurry, faint, or just doesn’t work—that’s a golden opportunity for learning.
Helping your child problem-solve, and try again builds their resilience—a life skill that matters way beyond science. Ask your child what they think went wrong and what they can change to improve the outcome.
Encourage questions like:
- Is the room dark enough?
- Is light leaking into the box?
- Should we change the pinhole size?
- What small tweak could we try next?
By troubleshooting together, you’re helping your child build resilience, creativity, and a confident problem-solving mindset.
Final Thoughts: Science = Curiosity, Not Perfection
This DIY Camera Obscura project is more than just a fun afternoon activity—it’s a hands-on lesson in light, optics, persistence, critical thinking, and resilience.
By exploring and experimenting together, you’re nurturing your child’s ability to explore, question, and face challenges with confidence.
And once their new camera is ready, send them outside to capture the world through a scientific lens—you’ve just sparked a little magic that will stay with them forever. You’ve earned a well-deserved cup of tea and a proud smile.
Loved this project?
Be sure to check out the Hey Smart Girl book series—celebrating science, resilience, and unstoppable curiosity in every girl!