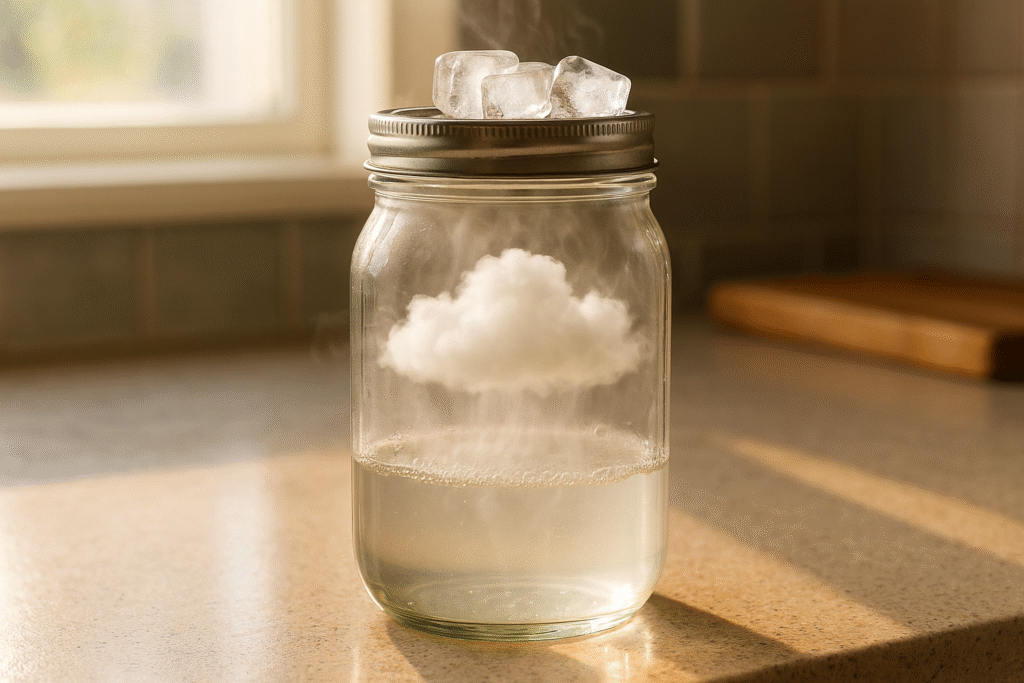
One of my all-time favorite science experiments to do with kids is this cloud in a jar experiment. It takes no prep—you literally only need the time it takes for the kettle to boil. Using ingredients you already have at home, you can create a real “wow” moment and teach your child something tangible they see every day—like how clouds form in the sky.
Science doesn’t have to happen in labs or textbooks. When you connect a fun, informal experiment to everyday life—like visible clouds floating over your head—it shows your child that science is all around them. And fair warning: be prepared to hear, “Can we do it again, Mammy?” two or three times!
🌥️ What You’ll Need
- Clear glass jar with lid (pint-size works great)
- Warm or hot water (adult-supervised!)
- Ice cubes
- Aerosol spray (like hairspray or furniture polish—to act as seed particles)
- Optional: A drop of blue food coloring
How to Make a Cloud in a Jar
- Pour 1–2 inches of warm water into the jar and swirl to heat the air.
- Place the lid upside down on top and put the ice cubes on the lid.
- Let it sit for about 30 seconds. Then quickly remove the lid, spray a short burst of aerosol inside, and immediately replace the iced lid.
- Watch—within seconds a misty cloud forms inside the jar!
- Remove the lid and let the cloud gently drift out.
What You’ll See & What It Teaches
Warm water produces vapor that rises into the jar. The aerosol spray provides tiny particles (called condensation nuclei). When the warm, moist air meets cold air under the lid, the water vapor condenses into droplets—forming a mini cloud. You can see convection too: warm air rises, cool air sinks, and the cloud floats upward when you remove the lid.
🔍 Science Behind the Cloud
- Evaporation: Water becomes vapor (gas).
- Condensation: Vapor cools into tiny droplets (liquid), forming a cloud.
- Cloud Condensation Nuclei: Aerosol particles act like dust in the air where droplets form.
- It demonstrates physical state changes, convection currents, and how everyday weather works.
Why Kids Love It
- Create a real cloud—right in your kitchen.
- Visual connection to the water cycle and weather.
- An unforgettable introduction to physics and states of matter.
🏫 Expert Insight
Educational research shows that hands-on lessons tied to everyday phenomena boost retention. This style of informal science learning not only helps kids remember concepts—it increases curiosity and lowers fear of science by making it relatable and fun.
Extra Science Twists
- Add blue food coloring to the water to make your cloud visible.
- Try colder water—does it make a less dramatic cloud?
- Use a timer to test how long the cloud persists.
Final Thought for Parents
This simple experiment is more than just a fun moment—it’s a mini meteorology lesson that brings science home in a way that’s memorable and meaningful. Grab a jar, gather the materials, and let science drift into your home this afternoon.
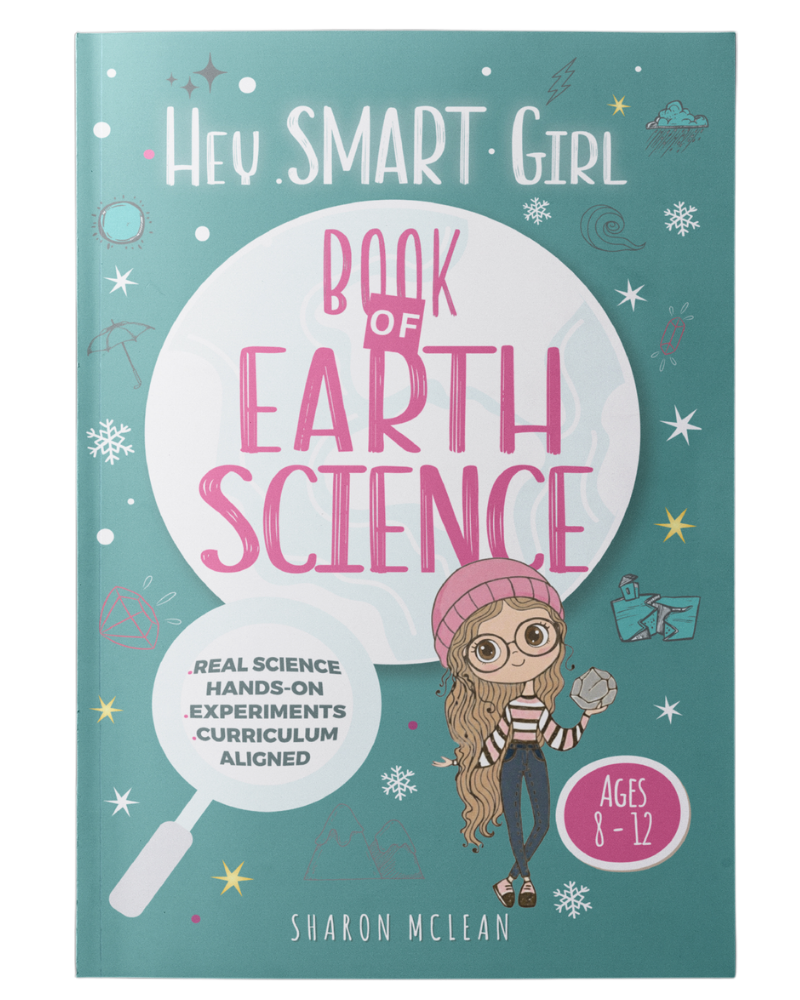
Of course, if you want more experiments that spark curiosity and teach real science concepts with confidence-building prompts, check out my Hey Smart Girl series. They’re filled with interactive experiments, trivia, and growth-minded lessons made just for girls ages 8–12.
Explore the full Hey Smart Girl series on my Amazon author page .
Loved this topic?
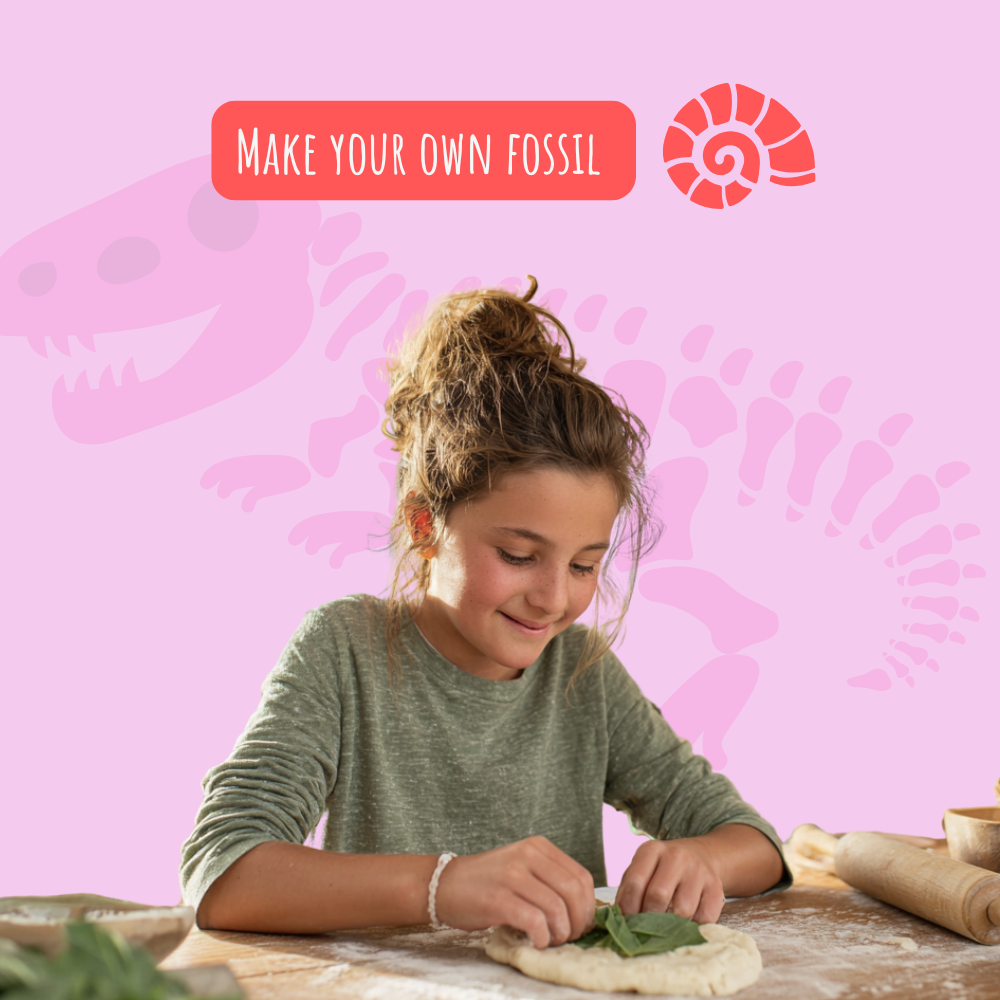
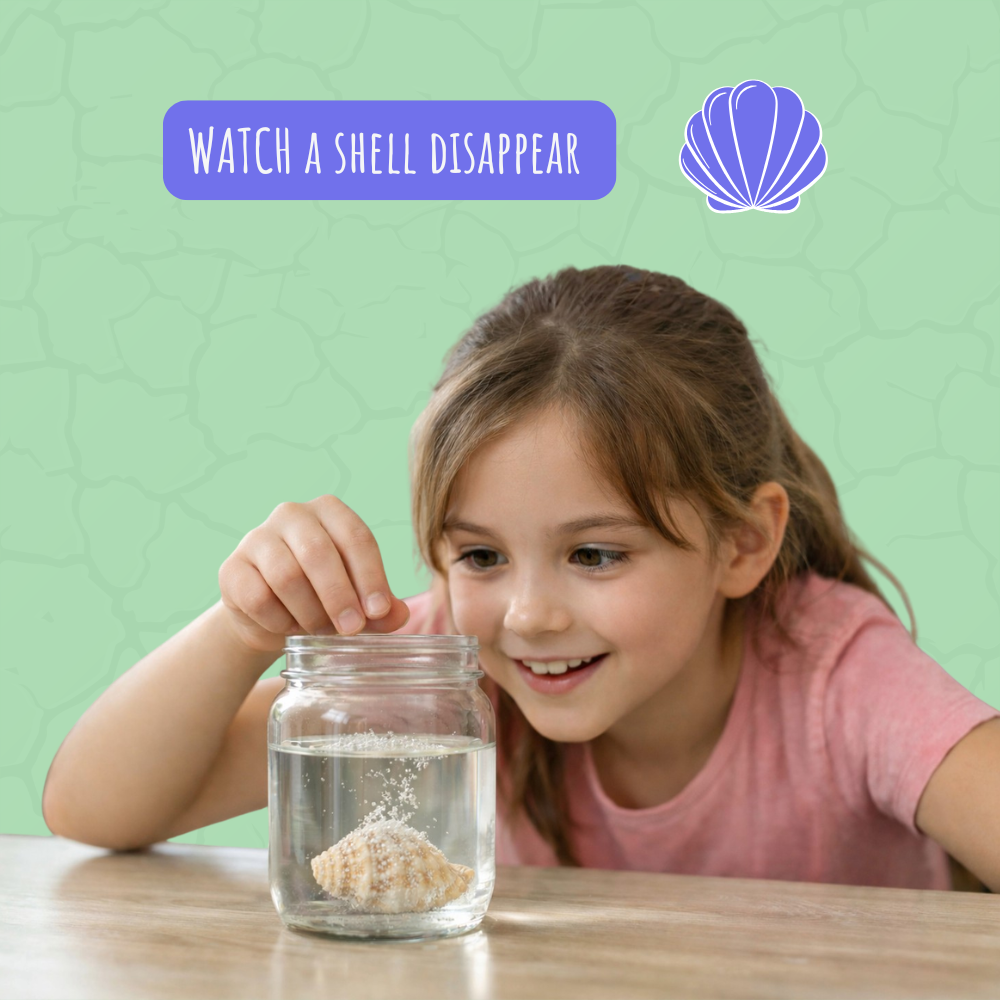
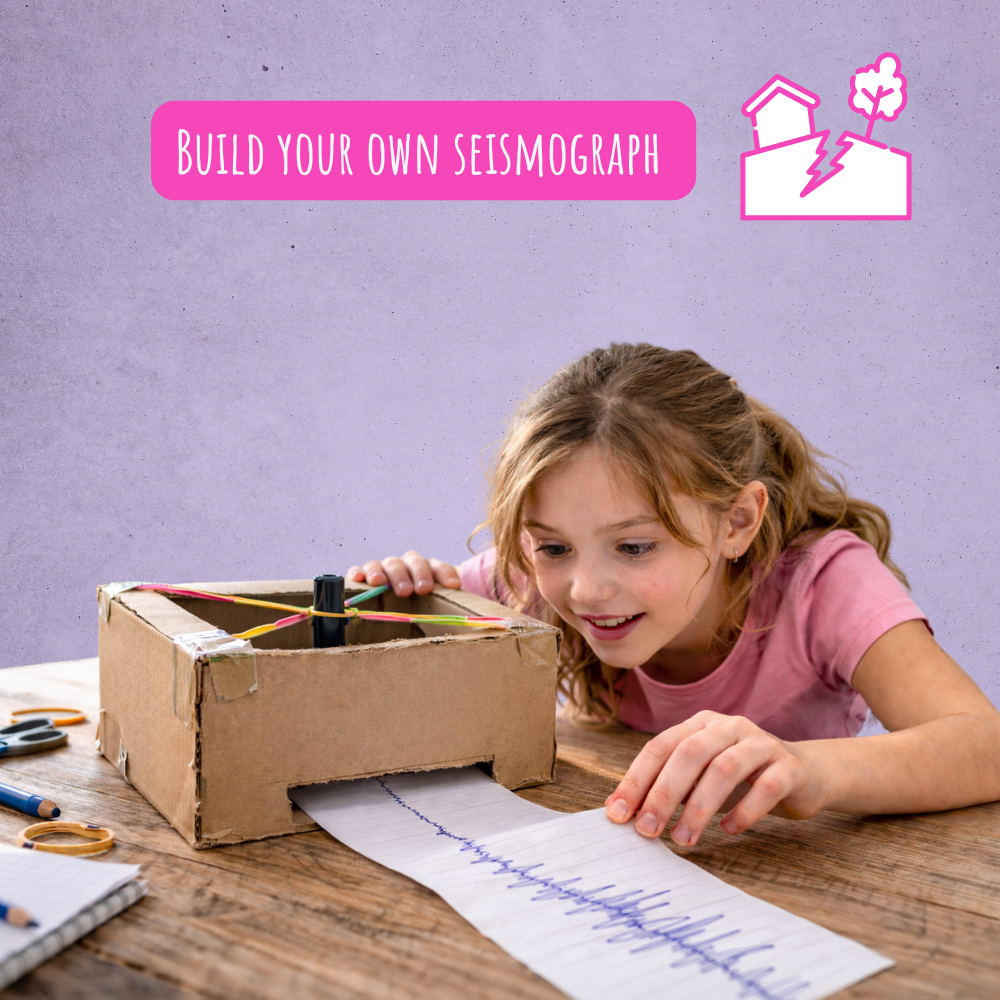
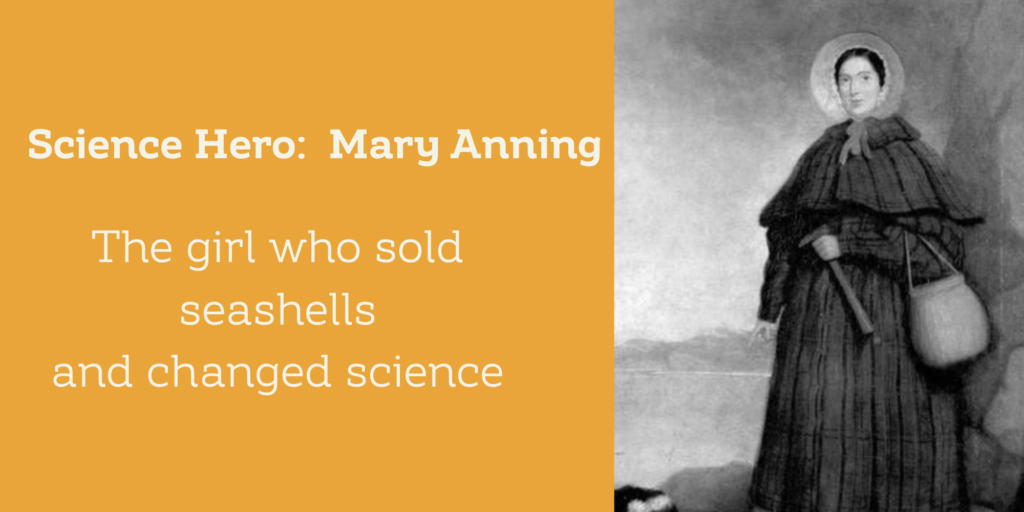
The Hey Smart Girl Book of Earth Science explores fossils, oceans, weather, earthquakes, climate, and the brilliant scientists who changed how we understand our planet.
Explore the Earth Science BookMore hands-on science for curious girls
Pick one and do it this week — your future scientist will thank you.