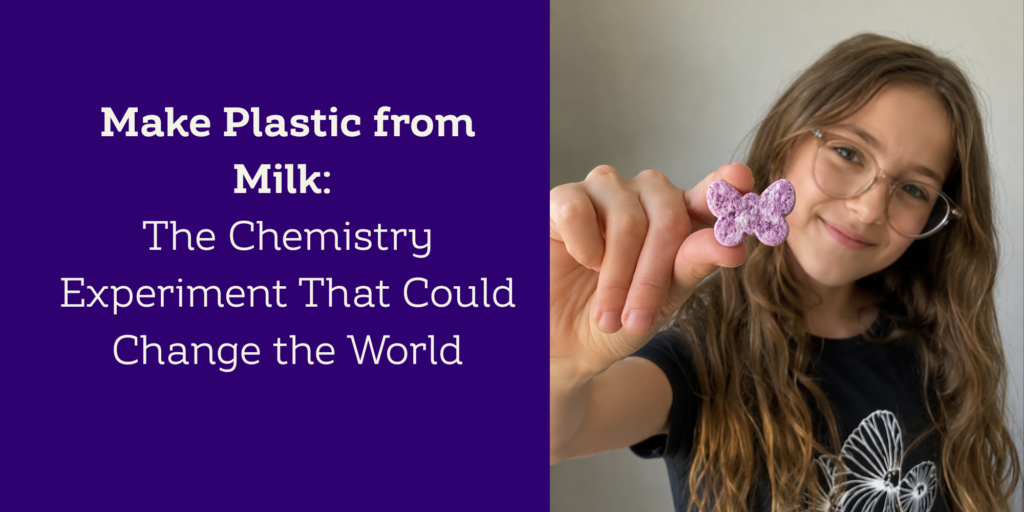
I’ll be honest with you — when I first heard about this one I was sceptical. Plastic from milk? In my kitchen? With my kids’ playdough mould?
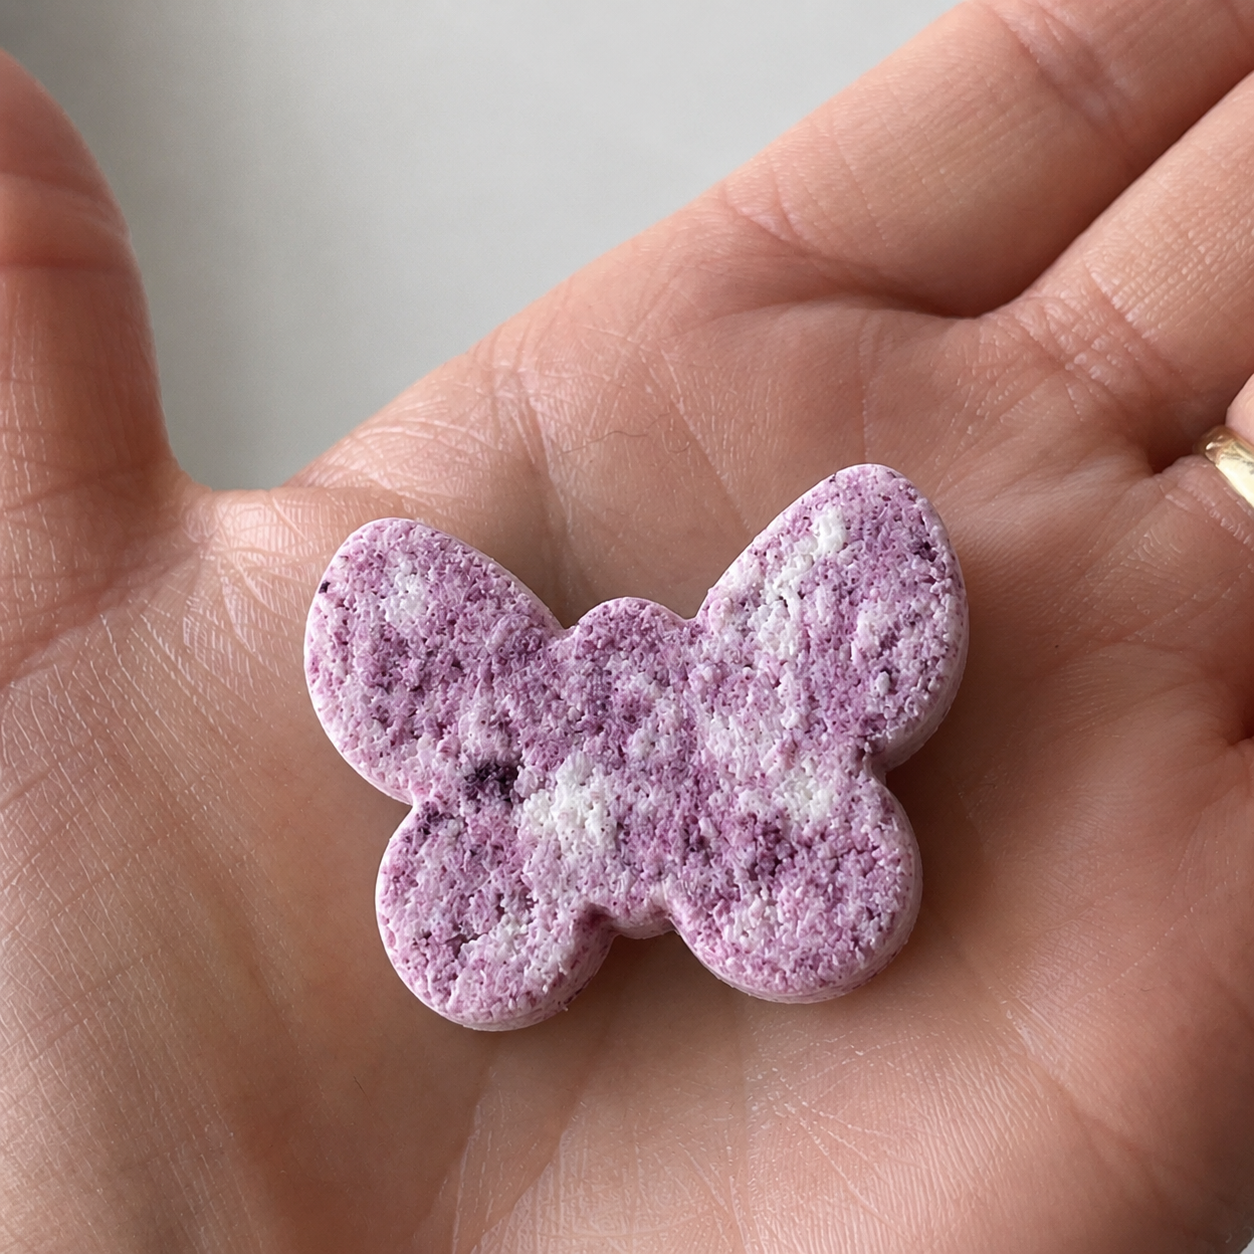
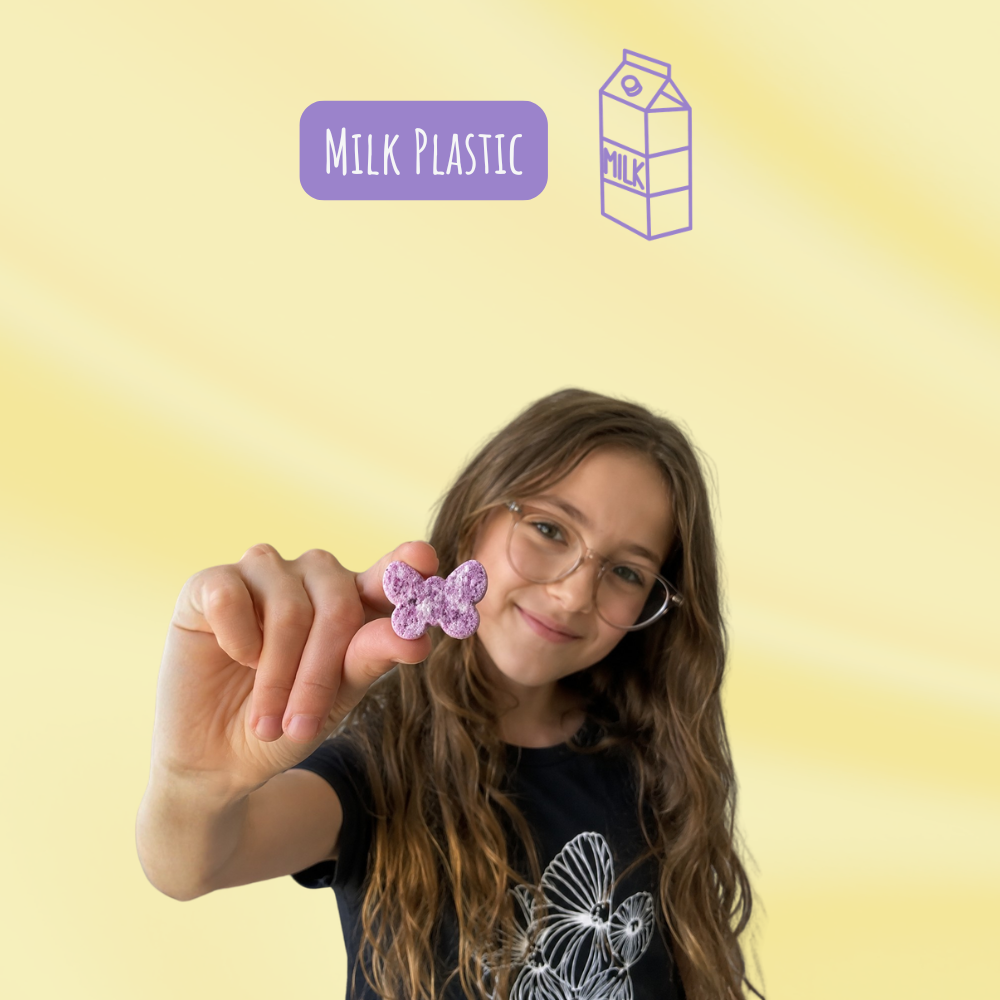
But here we are. And the little purple butterfly sitting on my windowsill drying right now is genuinely one of the most satisfying things I’ve made in a long time.
This is the milk plastic experiment — and it’s one of those rare activities that is equal parts chemistry lesson, craft project, and genuine conversation starter about one of the biggest problems facing our planet right now. Your daughter gets to make something real, keep something beautiful, and understand something important. That’s a pretty good return on a glass of milk and a splash of vinegar.
First — What Even Is Plastic?
Before we make it, let’s understand it. Plastic is a type of material called a polymer — and that word is worth knowing because it unlocks a lot of chemistry.
A polymer is a very long chain of repeating molecules called monomers, bonded together. Think of it like a necklace — each bead is a monomer, and the whole necklace is the polymer. The longer and more tightly bonded the chain, the stronger and more stable the material.
Most of the plastics we use every day — bottles, food packaging, toys — are synthetic polymers made from petrochemicals, which means they come from fossil fuels. The process that makes them is incredibly effective at producing strong, stable, cheap materials. Almost too effective, as it turns out.
Because those polymer chains are so stable, they don’t break down. Ever. When plastic ends up in the environment it doesn’t decompose — it breaks into smaller and smaller fragments called microplastics, which are now found in oceans, soil, drinking water, and even in human blood. It’s one of the most serious environmental challenges scientists are working on right now.
So Where Does Milk Come In?
Here’s where it gets interesting. Milk contains a protein called casein — and casein is already a natural polymer. Those protein chains are already there, right in your glass of milk, just waiting to be separated out.
When you heat the milk and add vinegar, two things happen simultaneously. The heat begins to denature the protein — essentially unfolding those long chains. And the vinegar lowers the acidity of the milk to the exact point where the casein proteins stop being soluble and clump together, separating from the liquid. What you strain off and press into a mould is essentially compressed casein protein — a natural polymer solid.
Because it’s protein-based rather than petrochemical-based, casein plastic is biodegradable. It breaks down naturally rather than fragmenting into microplastics. This is actually why manufacturers moved away from it in the 20th century — it wasn’t durable enough for industrial use. But that same biodegradability is exactly why scientists are looking at it again now.
Researchers today are developing casein-based food packaging, seaweed-based plastics, and mycelium packaging made from mushroom roots — all trying to solve the same problem your daughter is about to hold in her hand.
Your kitchen experiment is never going to replace plastic packaging. But it might just get a curious girl asking the right questions. And the scientists and engineers who solve this problem have to start somewhere. Maybe today, she starts in the kitchen. That is a very good place to begin.
What You Need
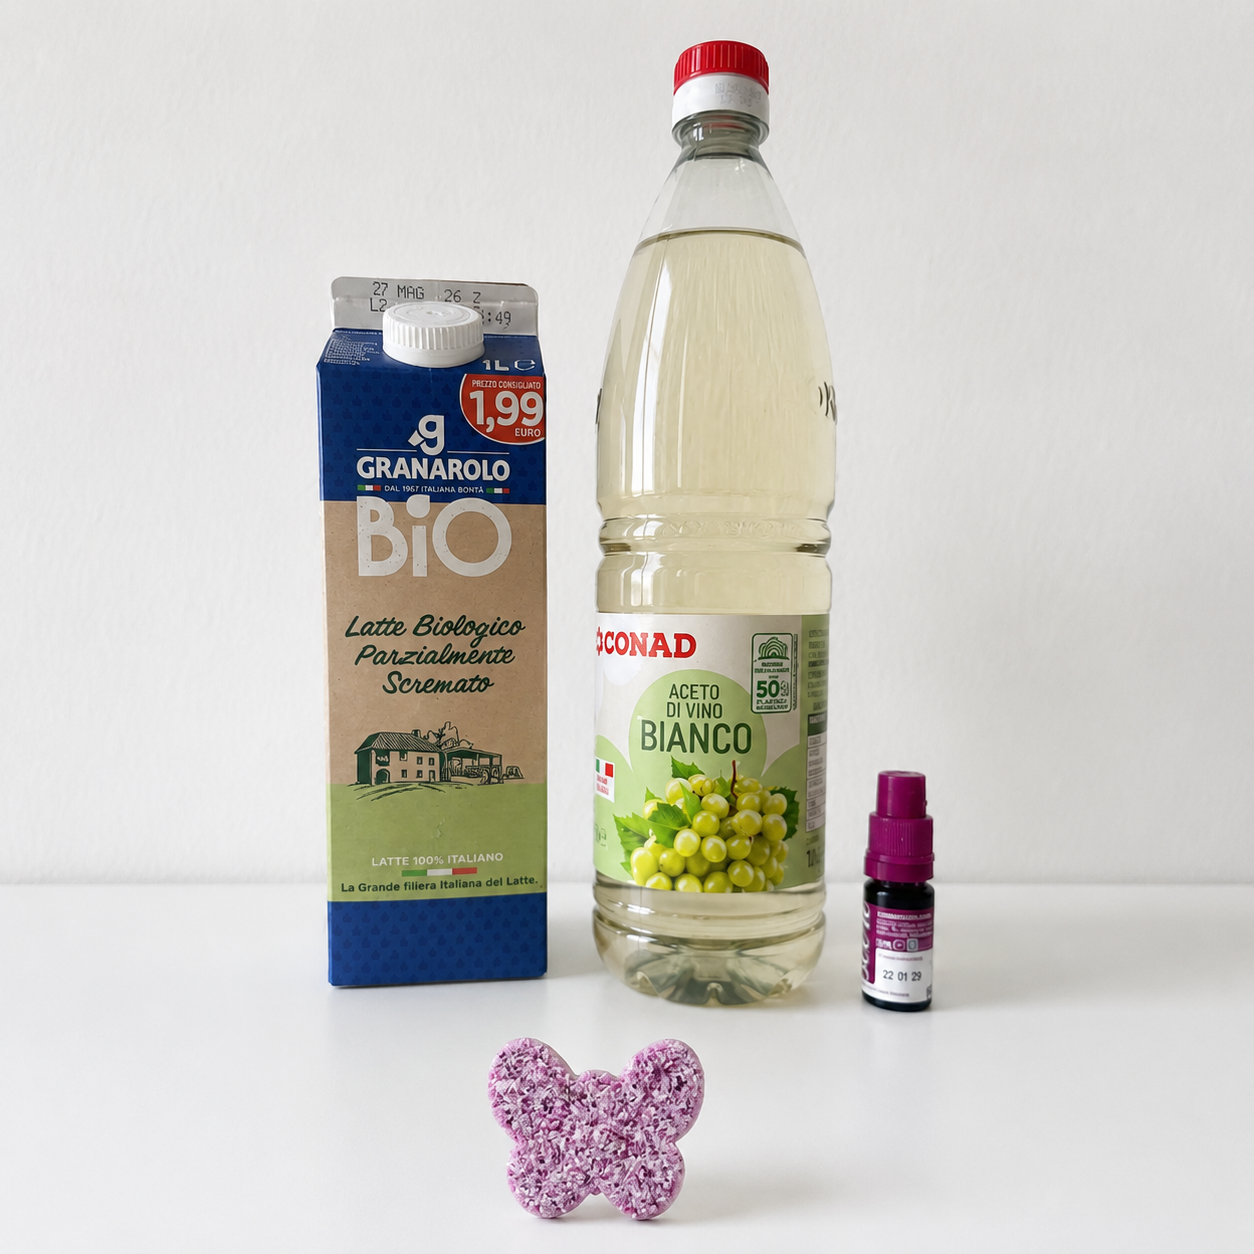
- 250ml full fat milk — full fat is essential, this is where the casein protein lives
- 4 tablespoons of white wine vinegar or plain white vinegar
- Food colouring — optional but highly recommended. Knead it in while the casein is still warm
- A saucepan
- A sieve or strainer
- A piece of muslin cloth or a clean tea towel — muslin is ideal as you can squeeze firmly without losing any material. If you don’t have muslin, paper towel works for patting the curds dry
- A mould — a silicone baking mould, chocolate mould, or a cookie cutter pressed onto a flat surface all work well. I used a mould from my kids’ playdough set and it worked perfectly
How To Make It
- Pour the milk into the saucepan and heat on a low-medium heat until you can see steam rising — hot but not boiling. Boiling will affect the protein structure so watch it carefully.
- Add the vinegar and stir gently. You’ll see the milk start to curdle almost immediately — white lumps forming and separating from a yellowish liquid.
- Now the important step — take it off the heat and let it sit for a few minutes. This is where the separation really happens and it makes a big difference to the final result. Don’t rush this part.
- If your curds look very fine and watery after a few minutes, pop it back on the heat briefly, add a small dash more vinegar, stir gently and let it sit again.
- Strain through your muslin or tea towel and squeeze out as much liquid as possible.
- While the casein is still warm, knead in your food colouring if using. Work quickly — it gets harder to mould as it cools. If the colour doesn’t mix fully evenly you’ll get a beautiful marble effect.
- Press your casein firmly into your mould or cookie cutter. Press down hard and evenly — the more compressed it is the harder the final result. Keep your shape thick and chunky.
- Leave to air dry at room temperature for 1-2 days. Don’t try to speed this up with a radiator or direct sun — slow even drying gives a much better result. The thicker your shape the longer it needs.
Shape tips: Simple chunky shapes work best — hearts, circles, thick butterflies, basic stars. Avoid anything with thin sections or fine points which will crack as it dries. I raided my kids’ playdough kit for the butterfly mould — it worked perfectly. A cookie cutter pressed onto a flat surface is another great option most families already have.
Tips Before You Start
- Full fat milk only — semi-skimmed won’t give you enough casein to work with
- Muslin is better than paper towels — you can squeeze more firmly and won’t lose any material through the paper. A clean tea towel works too
- The letting it sit step is crucial — don’t skip it and don’t rush it
- Work with it while it’s warm — once it cools it becomes much harder to mould smoothly
- The finished piece is more like a hard resin or clay than modern plastic — think of it as a natural resin rather than expecting it to feel like a plastic toy. It’s durable enough to keep and display
- If you don’t have food colouring, leave it plain and paint with acrylic paint once fully dry, then seal with a clear acrylic varnish — this actually gives you more control over the final colour
The Book Connection
If your girl has read Hey Smart Girl: Book of Chemistry, she’ll have met polymers in Chapter 3 — the building blocks of materials, how molecules bond, and how structure determines properties. This experiment makes that completely tangible. She’s not just reading about polymer chains — she’s holding one.
And the next time she throws something plastic in the bin, she might just pause for a second and think about what it’s made of, where it came from, and whether there might be a better way. That pause is the beginning of everything.
A glass of milk, a splash of vinegar, and a playdough mould. That’s all it takes to make a real polymer, understand why plastic is such a problem, and maybe — just maybe — plant the seed of an idea in a curious girl’s head that stays with her for years.
The scientists and engineers who solve the plastic problem have to start somewhere. Today, she started in the kitchen. That is a very good place to begin.
Frequently Asked Questions
Can you really make plastic from milk?
Yes — milk contains a protein called casein which is a natural polymer. When you heat milk and add vinegar, the acid causes the casein to separate from the liquid and clump together into a mouldable solid. This is exactly how early 20th century manufacturers made buttons, jewellery, and knitting needles before synthetic plastics took over.
What type of milk do you need to make casein plastic?
Full fat milk is essential. The casein protein is found in the fat content of milk, so the higher the fat percentage the better your results will be. Semi-skimmed or skimmed milk will produce much weaker, finer curds that are harder to mould.
How long does milk plastic take to dry?
Milk plastic needs to air dry slowly at room temperature for 1-2 days. Thinner shapes may be ready in around 24 hours while thicker pieces can take up to 48 hours or more. Don’t try to speed up the drying process with a radiator or direct sunlight as this can cause cracking.
What shapes can you make with milk plastic?
Simple chunky shapes work best — hearts, circles, thick butterflies, and basic stars are all ideal. You can use a silicone baking mould, a chocolate mould, or press the casein into a cookie cutter on a flat surface. Avoid shapes with thin sections or delicate points as these tend to crack as the plastic dries.
Is milk plastic environmentally friendly?
Yes — casein plastic is biodegradable, meaning it breaks down naturally rather than fragmenting into microplastics like synthetic plastic does. This is exactly why scientists today are researching casein-based food packaging as a sustainable alternative to conventional plastic. The milk plastic experiment connects directly to real materials science research happening right now.
More hands-on chemistry for curious girls
Pick one and do it this week — your future scientist will thank you.

How did yours turn out? Drop a comment below or tag me on Pinterest @HeySmartGirl — I’d especially love to see what shapes you made.